Knowleages
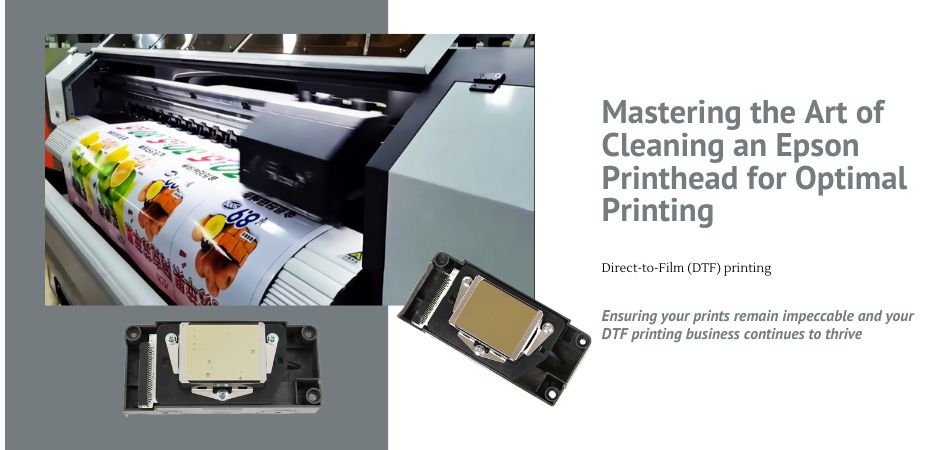
Cleaning Your Epson Printhead for Optimal DTF Printing Performance
In the dynamic world of digital printing, precision and quality are paramount. Epson printers, renowned for their reliability and performance, are often favored choices for Direct-to-Film (DTF) printing, including the A3 DTF printer.
However, over time, printheads can become clogged, leading to diminished print quality. Regular maintenance and proper cleaning of the printhead are essential to ensure consistent and vibrant results.
Understanding the Printhead Clogging Issue
Printhead clogs occur when ink particles dry and accumulate on the nozzles, disrupting the ink flow and resulting in inconsistent prints.
This issue is particularly relevant to DTF printing due to the heavy ink deposition required for fabric printing.
In other words, the DTF ink used in the DTF printing process itself is easy to solidify, resulting in nozzle clogging.

Key Steps to Cleaning an Epson Printhead
1. Gather Your Tools:
Before embarking on the cleaning process, assemble the necessary items. These may include lint-free cloths, distilled water, a cleaning solution specifically designed for your printer model, gloves, and a syringe.
2. Prepare the Printer:
Ensure the printer is powered off and unplugged. Open the printer's lid to access the printhead. Familiarize yourself with the location of the printhead and the process of removing it (if required), as it may vary depending on the printer model.
3. Remove the Printhead (if applicable):
Some Epson printers allow for the removal of the printhead for thorough cleaning. Follow the manufacturer's instructions to remove the printhead safely.
4. Initial Cleaning:
Start by using a lint-free cloth or cotton swab moistened with distilled water to gently wipe the printhead surface. This step helps remove any excess ink and softens dried particles.
5. Use Cleaning Solution:
Apply a small amount of the recommended cleaning solution to a lint-free cloth or cotton swab. Gently dab the solution onto the printhead surface without exerting too much pressure.
6. Flush the Printhead Nozzles:
If your printer allows for printhead removal, you can place the printhead on a damp lint-free cloth with the nozzles facing down. Apply a few drops of cleaning solution to the nozzles using a syringe, allowing the solution to soak and dissolve clogs.
7. Wait and Wipe:
Give the cleaning solution time to work, usually around 15 minutes. Afterward, gently wipe the printhead surface and nozzles with a clean lint-free cloth. Avoid aggressive rubbing, as it may damage the delicate components.
8. Reassemble and Test:
If you removed the printhead, carefully reattach it following the guidelines. Power on the printer and run a nozzle check or test print to ensure that the cleaning process has been successful.
A well-maintained printhead is the cornerstone of vibrant and consistent DTF printing, especially when using A3 DTF printers. Regular cleaning not only prevents printhead clogs but also extends the life of your Epson printer. By following the steps outlined in this guide, you can confidently tackle printhead maintenance, ensuring your prints remain impeccable and your DTF printing business continues to thrive. Remember that each printer model may have unique cleaning requirements, so always consult your printer's manual and manufacturer guidelines for the best results.